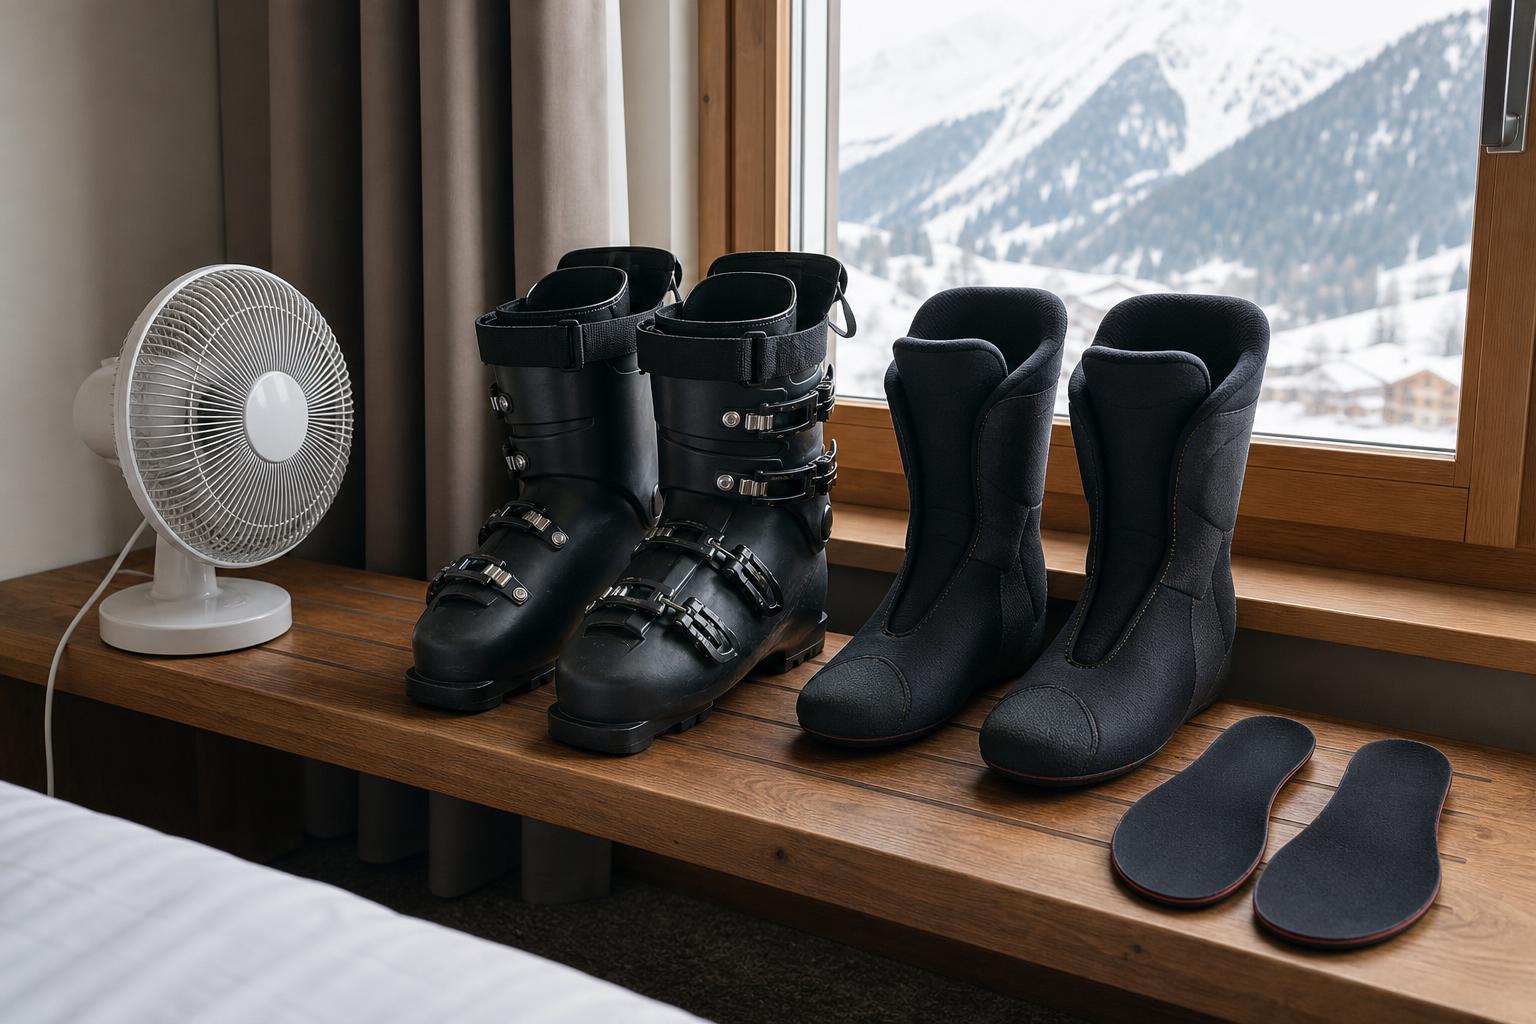
To dry ski boots overnight, pull out the liners, remove the footbeds, wipe water from the shells, and give every part open airflow in a warm, dry room. Do not put the boots against a radiator, fireplace, heater, or other strong direct heat. Start as soon as you finish skiing, not at bedtime.
That routine works at home and in a hotel. A purpose-made boot dryer can shorten the job, but its own instructions determine whether to use heat, no heat, or a particular cycle. There is no single safe temperature limit for every liner, footbed, adhesive, or custom fitting.
How to dry ski boots overnight
- Open the shells. Undo the power straps and open the buckles enough to reach the liners without forcing the plastic.
- Pull out both liners. Hold the liner firmly and ease it out rather than tugging on a tongue or lace loop.
- Remove the footbeds. Moisture can sit between a footbed and the liner floor even when the top feels dry.
- Blot visible water. Use a towel on the shell interior and press a dry towel against very wet liner fabric. Do not wring or twist a molded liner.
- Separate every part. Stand the shells open. Put the liners upright with their tongues open, and lay the footbeds nearby with both sides exposed.
- Add airflow. Place the parts in a warm, dry, well-ventilated room. A room fan aimed across the liners moves air without adding concentrated heat.
- Check in the morning. Feel the toe box and the bottom of each liner, not just the cuff. Reassemble only when the parts are dry.
Salomon's official storage guide, checked October 24, 2026, says to remove liners and footbeds and put them in a warm, dry, well-ventilated area after each ski day. For end-of-season drying, Salomon says 24 to 48 hours or until completely dry. An overnight window is shorter, which is why an early start and open airflow matter.
If you are skiing again in the morning, keep the parts spread out until you dress. Reinstall the footbeds flat, seat each liner fully in its shell, then check that no fabric is folded under your heel.
Avoid direct heat
A hot surface may feel like the quickest answer, but it gives you little control at the part touching the heat. Salomon warns that placing liners next to a radiator, heater, or fireplace can make them lose a custom fit, return toward their original form, or otherwise deform. The company also says not to leave drying liners in the sun or too close to a strong heat source. We checked that guidance on October 24, 2026.
Keep ski boots away from:
- radiators, fireplaces, space heaters, and heating vents
- hair dryers or heat guns pointed into the liner
- clothes dryers and ovens
- heated floors or hot surfaces when you cannot control the surface temperature
- direct sun through a window
A dryer maker's published operating temperature is a specification for that device, not permission to reproduce the same temperature with a hair dryer or homemade heater. Air distribution, thermostat control, distance, and cycle time all differ. If your liner has been heat-molded, has an integrated heating system, or uses custom work, follow the boot or liner maker's care instructions and ask the bootfitter when those instructions are unclear.
Boot dryer types: convection and forced air
Electric boot dryers generally take one of two approaches. A convection dryer warms air and lets it rise through the boot without a fan. A forced-air dryer uses a fan to push heated or room-temperature air through the footwear.
PEET's Original dryer uses natural thermal convection with no fan or moving parts. PEET says drying time varies with material and saturation and recommends leaving footwear on the dryer overnight. Its instructions say to keep the rear vents clear, leave at least six inches between the footwear top and the base, loosen the tongue, and position the toe above the heel. Those instructions and specifications were checked October 24, 2026.
PEET's Advantage Plus is a forced-air model with heated and unheated settings. PEET lists ski boots among its intended footwear and publishes a one-to-four-hour drying range, depending on material and saturation. That range is the maker's claim for that model, checked October 24, 2026, not a promise for every soaked liner.
DryGuy's Force Dry DX is another forced-air design. DryGuy says it offers heat or no heat, a three-hour timer, and heat up to 105°F (40.5°C). The company lists a one-to-two-hour range for most garments and says the device is suitable for liners and boots. We checked those specifications on October 24, 2026.
Choose by the job rather than the fastest number on a product page. Convection suits a quiet overnight routine. Forced air gives you a timed option when the drying window is shorter. A no-heat setting is useful when the boot or liner instructions prohibit added heat. In every case, keep the dryer's intake and outlets clear and use the attachments, spacing, voltage, and cycle described by its maker.
A safe DIY boot dryer setup
The low-risk DIY option is an airflow stand, not a homemade heater. Remove the liners and footbeds, support the liners so their openings stay clear, and aim a normal room fan across them. A wire shelf or dish rack can hold each liner above the floor so air reaches more than one side. Keep the fan, cord, and plug away from pooled meltwater.
For a passive setup, make a simple rack from smooth, clean dowels or capped pipe that holds the liners open. The rack should not contain a heating element, block the toe box, leave sharp edges against the fabric, or place the liner directly over a furnace register. Dry the shells separately.
REI published a more involved vent-powered DIY boot dryer that uses a wooden box and perforated PVC tubes over a forced-air register. We checked the REI project page on October 24, 2026. Its listed pipe and cap sizes do not match, so do not copy the dimensions without resolving that discrepancy. More importantly, a home heating register can deliver air at a temperature your boot maker did not approve.
Avoid DIY designs that combine wet gear with exposed wiring, improvised mains-powered fans, incandescent bulbs, heating pads, or unregulated heating elements. A fan-only stand has a slower but clearer safety boundary: moving room air rather than trying to create heat.
How to dry ski boots in a hotel after a flight
Unpack the boots as soon as you reach the room. A closed ski boot bag is for transport, not overnight drying. Pull the liners and footbeds, wipe out any snow or condensation, and arrange the pieces where housekeeping will not mistake them for laundry or trash.
Use the room's open floor or luggage bench with a towel underneath. Keep the setup out of the bathroom if showers will leave the room humid. If the hotel has a portable fan, use room-temperature airflow. Do not balance boots on the room radiator, fan-coil unit, or fireplace.
For a travel dryer, check the electrical label before the trip. PEET says its standard Original base plugs into 110 to 120 volt U.S. household current and warns that misuse with the wrong voltage can cause overheating or damage. We checked that specification on October 24, 2026. The right plug shape alone does not establish voltage compatibility. Pack the dryer only when its label and the destination supply agree, or use a model whose maker explicitly supports the destination voltage.
On departure morning, let the liners cool and confirm that they are dry before repacking. If they remain damp, keep them separate from clean clothes and reopen the bag at the next stop. Our guide to flying with ski boots covers where those fitted boots fit in the cabin plan.
Store dry ski boots between trips
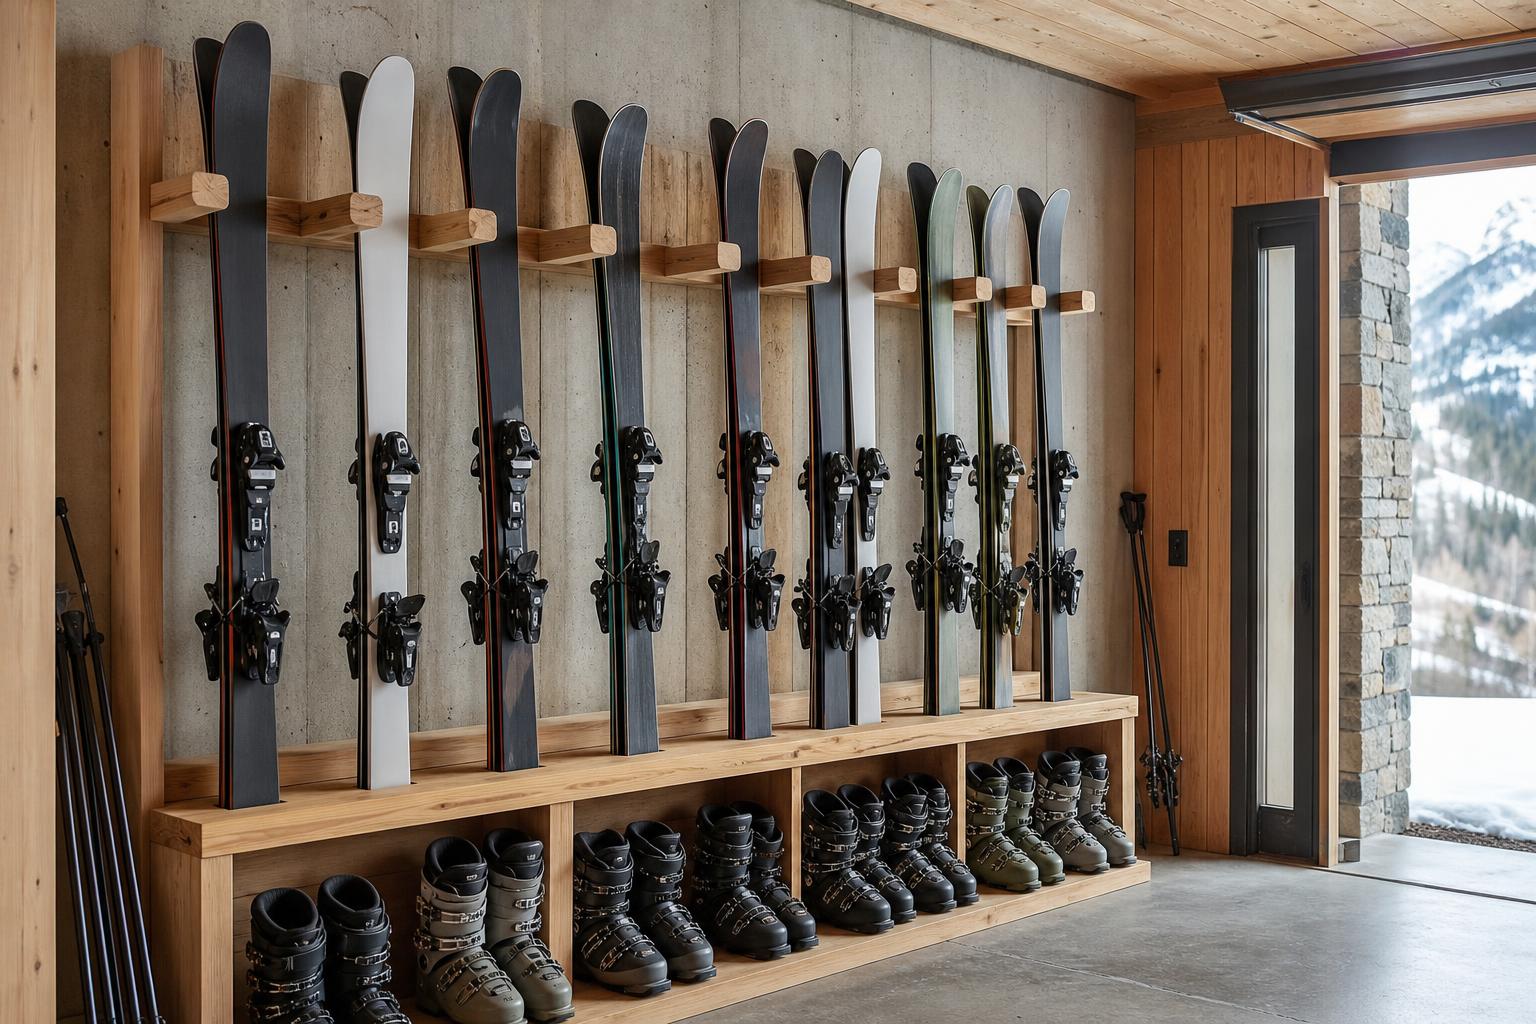
Never zip damp boots into storage. Finish drying the shells, liners, and footbeds first. Wipe dirt from the shells, inspect the buckles and soles, put the footbeds and liners back in place, and buckle the shells loosely so they hold their shape.
Salomon says to store ski boots in a dry, well-ventilated place and avoid damp garage or cellar floors. Tecnica's drying and storage page likewise says boots should be completely dry and clean before storage, then kept loosely buckled in a cool, dry location away from extreme heat, cold, and damp. We checked both manufacturers' guidance on October 24, 2026.
Leave a boot bag open until the last trace of moisture is gone. Before the next trip, inspect the liners, footbeds, shell, buckles, and soles. Drying fixes moisture. It does not fix cracked plastic, worn soles, packed-out foam, or a fit problem that needs a bootfitter. The skis get the same end-of-season attention: our ski wax temperature guide covers matching wax to the snow before the next trip.